 MC Build Tools
Minecraft Dome Generator
This free Minecraft dome maker lets you design and edit a block-based roof in 3D, inspect every layer, calculate materials, and export a build file for Java or Bedrock Edition.
Free · no sign-up · runs entirely in your browser
Updated October 11, 2026
Diameter (blocks)
Height (blocks)
StructureOptional
The selected block has no matching slab, so Smooth Curve isn't available for it.
Bulk ReplaceOptional
Export
Sets the correct file version tag for the schematic exports below.
This sets the Java file version. It does not replace blocks unavailable in older releases.
Block Coordinates
Every filled block's (x, y, z) position, one per line — handy for command blocks, WorldEdit, or your own build script.
How to Make a Minecraft Dome
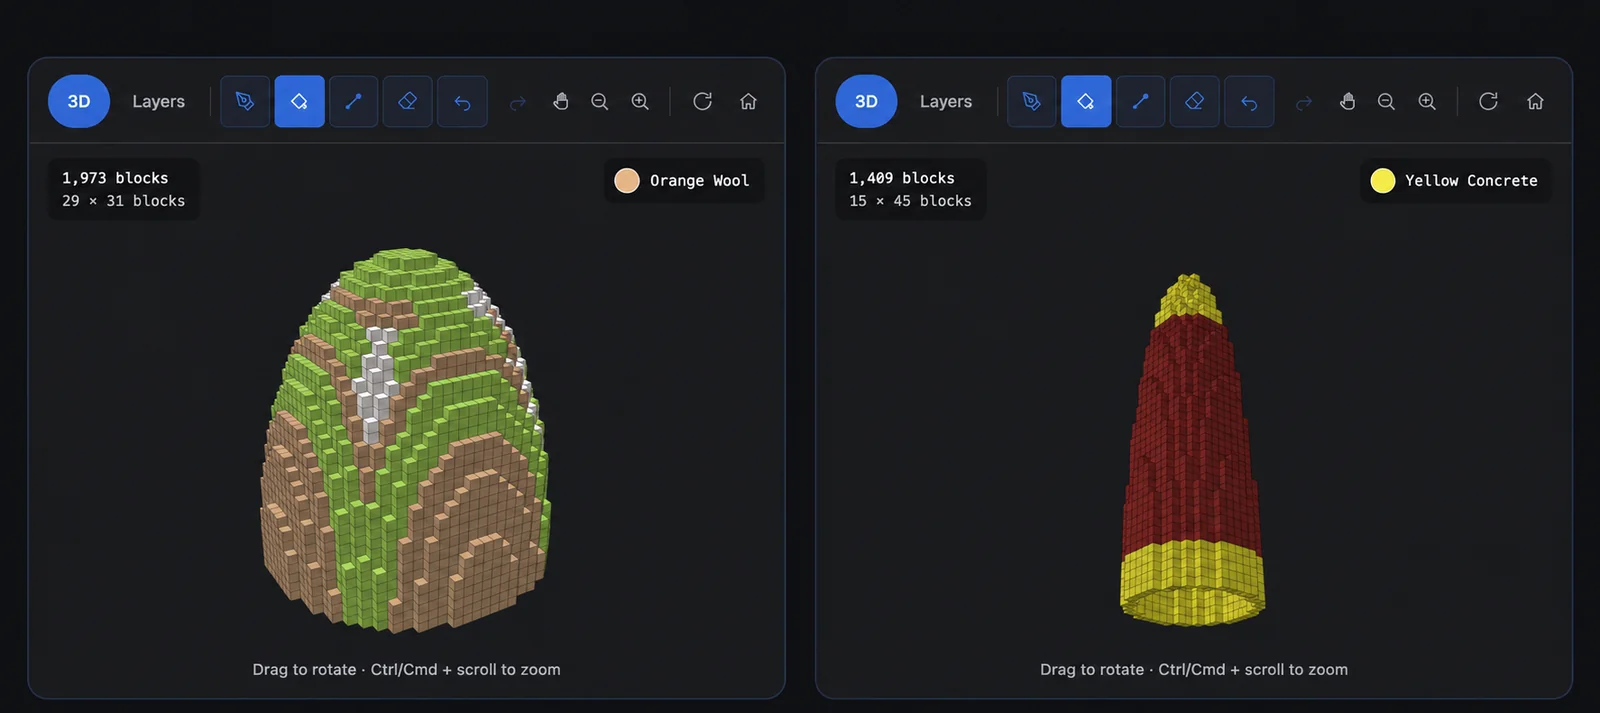
A Minecraft dome is easiest to build as a stack of horizontal rings. Start with the widest ring at the base, keep every layer centered, and work upward as the rings become smaller. The blueprint calculates those changes for you. If you want to compare other roof shapes, Minecraft Wiki's curved-roof tutorial explains how blocks, stairs, and slabs can create different profiles.
- 1
Set the diameter
Enter the base width in blocks, or start from a preset. A wider diameter gives a smoother curve but needs more material and more layers to build.
- 2
Pick hollow or solid
Hollow builds a shell of the wall thickness you choose, open at the base so you can build underneath it. Solid fills the entire dome — useful for a buried bunker roof or a hill.
- 3
Adjust the height if needed
Set the roof height in blocks without changing the base diameter. Use fewer layers for a shallow cap or more layers for a taller dome.
- 4
Choose a block and build layer by layer
Search for a Java or Bedrock block, then step through the layer view from Y=0 upward, or export a build file for WorldEdit, Litematica, or a Bedrock structure block.
How the Minecraft Dome Calculator Works
The calculator treats the dome as the upper half of an ellipsoid. It tests the center of each possible block against that curve, using half the chosen diameter as the horizontal radius and the selected block height as the vertical radius. For a hollow build, it keeps the connected outer layers needed for your chosen wall thickness and leaves the base open.
This is a voxel approximation of a smooth mathematical curve, the same approach used to build circles and spheres out of square blocks. Larger diameters approximate the curve more closely and produce fewer visible steps; very small domes will always look a little blocky no matter which tool generates them.
Using the Blueprint for a Minecraft Dome Roof
Use the 3D view to check the overall dome design, then switch to Layers for the block-by-block roof blueprint. Begin at Y=0, mark the center of the footprint, and keep each new ring aligned with the one below it. For another visual explanation of the same building method, see Planet Minecraft's circles-and-domes tutorial.
The displayed block count is exact for the generated layout, but the in-game appearance can vary with lighting, resource packs, and transparent materials. A hollow dome has no floor, so it needs walls or another structure beneath it. Domes under about 7 blocks wide have very little room for a smooth curve and will look noticeably stepped.
Choosing a Dome Diameter and Roof Height
Small domes (7–15 blocks) suit decorative roofs, wells, and gazebos. Mid-size domes (17–31 blocks) work well for houses, greenhouses, and observatories. Large domes (33 blocks and up) suit stadiums, arenas, and bunker roofs, but take a long time to place by hand. For inspiration beyond the roof itself, ByPixelbot's dome-base tutorial shows one way to turn a dome into a complete survival base.
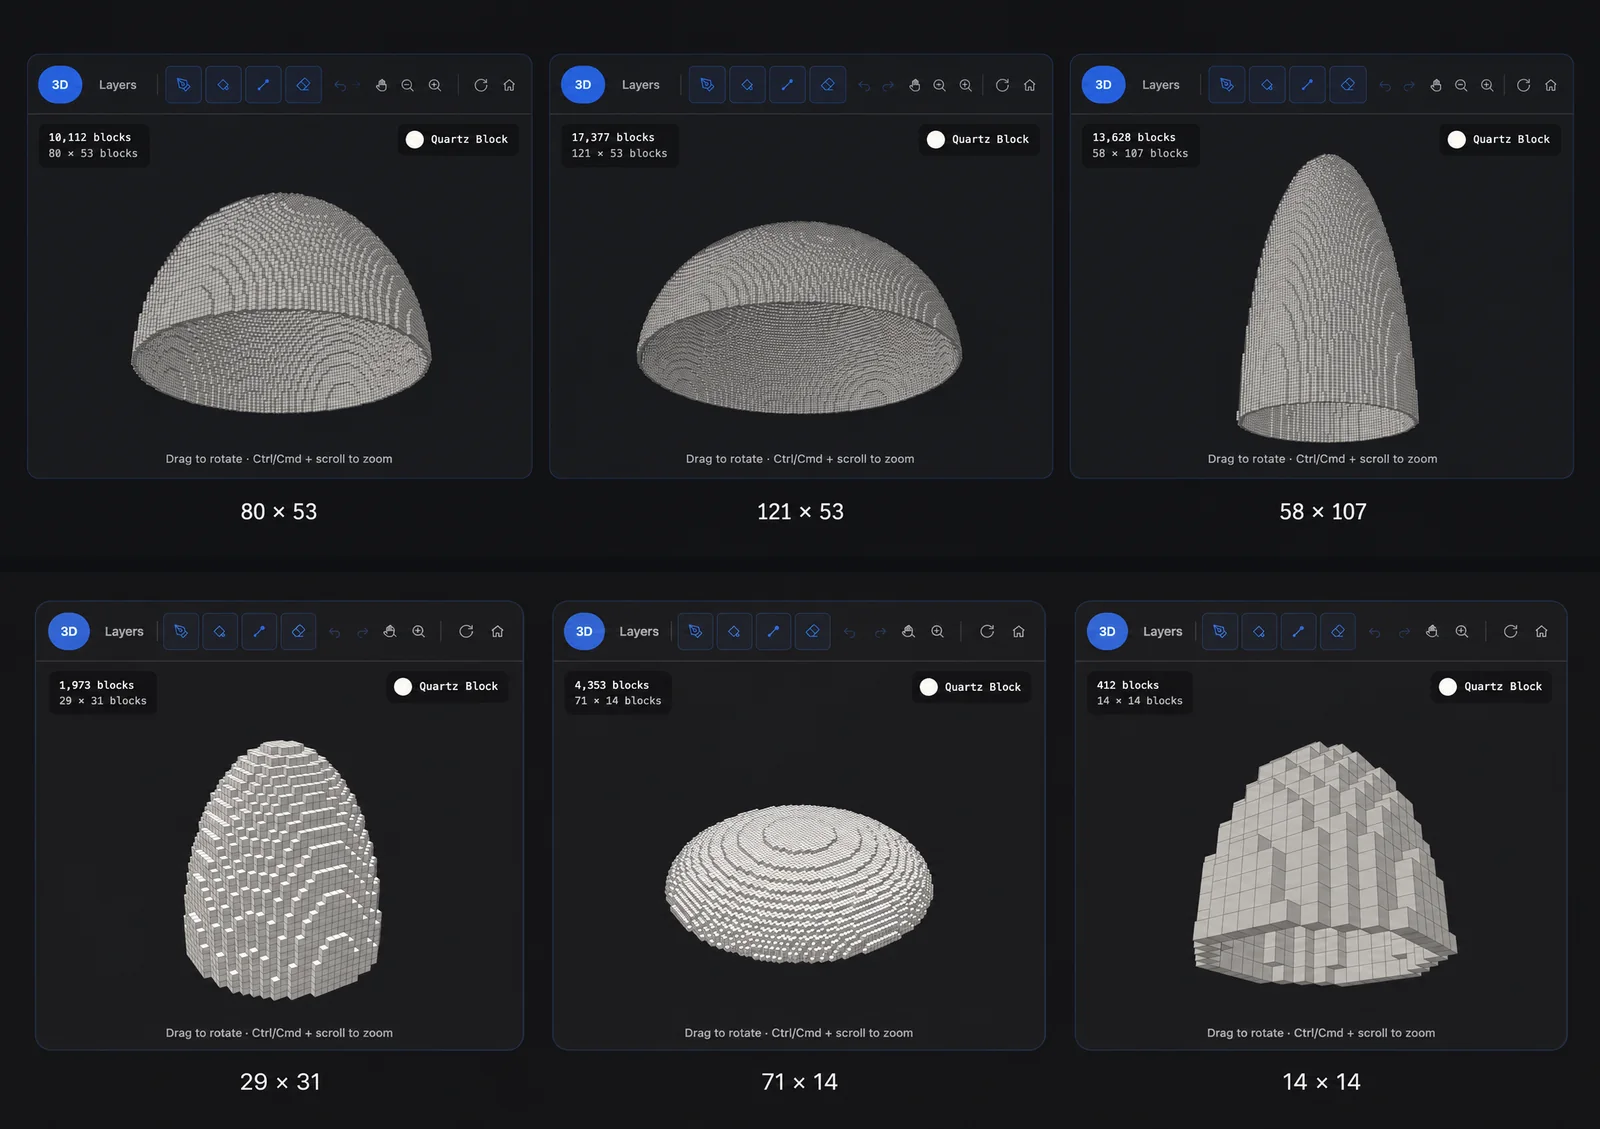
Diameter controls the width of the footprint; height controls the number of vertical layers. A height close to half the diameter produces a familiar hemisphere, while a lower value makes a flatter roof and a higher value makes a steeper one. Check the 3D preview and live count before committing to the build.
You can use the dome generator to plan a rounded roof for a Minecraft house, hut, tower, or castle, as well as the top section of a larger build. Choose glass or stained glass from the block palette for a transparent dome. For an underwater dome, use the blueprint for the shell and test a small section in your world before completing the full build.
Settings That Change the Shape Most
- Wall thickness
- A thickness of 1 gives the thinnest possible shell. Increasing it thickens the wall inward without changing the outer diameter — useful for a dome that needs to support glass panes or a walkway inside it.
- Height
- Height is the number of vertical block layers, independent of diameter. A 31-block-wide dome with a height near 16 resembles a hemisphere; reducing the height makes a shallow roof, while increasing it creates a steeper profile.
- Solid vs. hollow
- Solid is simplest to build with a fill command in Creative, since there is no interior to worry about. Hollow saves material and gives you a usable interior, but needs more careful layer-by-layer placement in Survival.
Customize and Export Your Minecraft Dome
Choose a hollow dome to create a usable interior or a solid dome for a completely filled structure. Diameter and height are controlled separately, so you can make a broad roof, a balanced house dome, or a tall tower top. You can also replace the default material with any available Java or Bedrock block and combine different blocks in one design.
Use the paint, fill, eyedropper, and eraser tools to edit individual blocks. Erasing blocks creates empty spaces that can become a doorway, window, skylight, or custom opening. When the design is ready, download the block list, layer-by-layer plan, layer PNG, or exact block coordinates for manual building, or export a compatible Minecraft build file.
For faster changes, Bulk Replace swaps one material throughout the dome, while undo, redo, and Reset Colors make experiments easy to reverse. Smooth Curve uses matching half slabs where available to soften the outline. You can rotate, zoom, or auto-rotate the 3D preview, reset the camera, save either the 3D view or a selected layer as PNG, and set the starting Y level before downloading exact x, y, z block coordinates.
Live Block Count for Every Dome
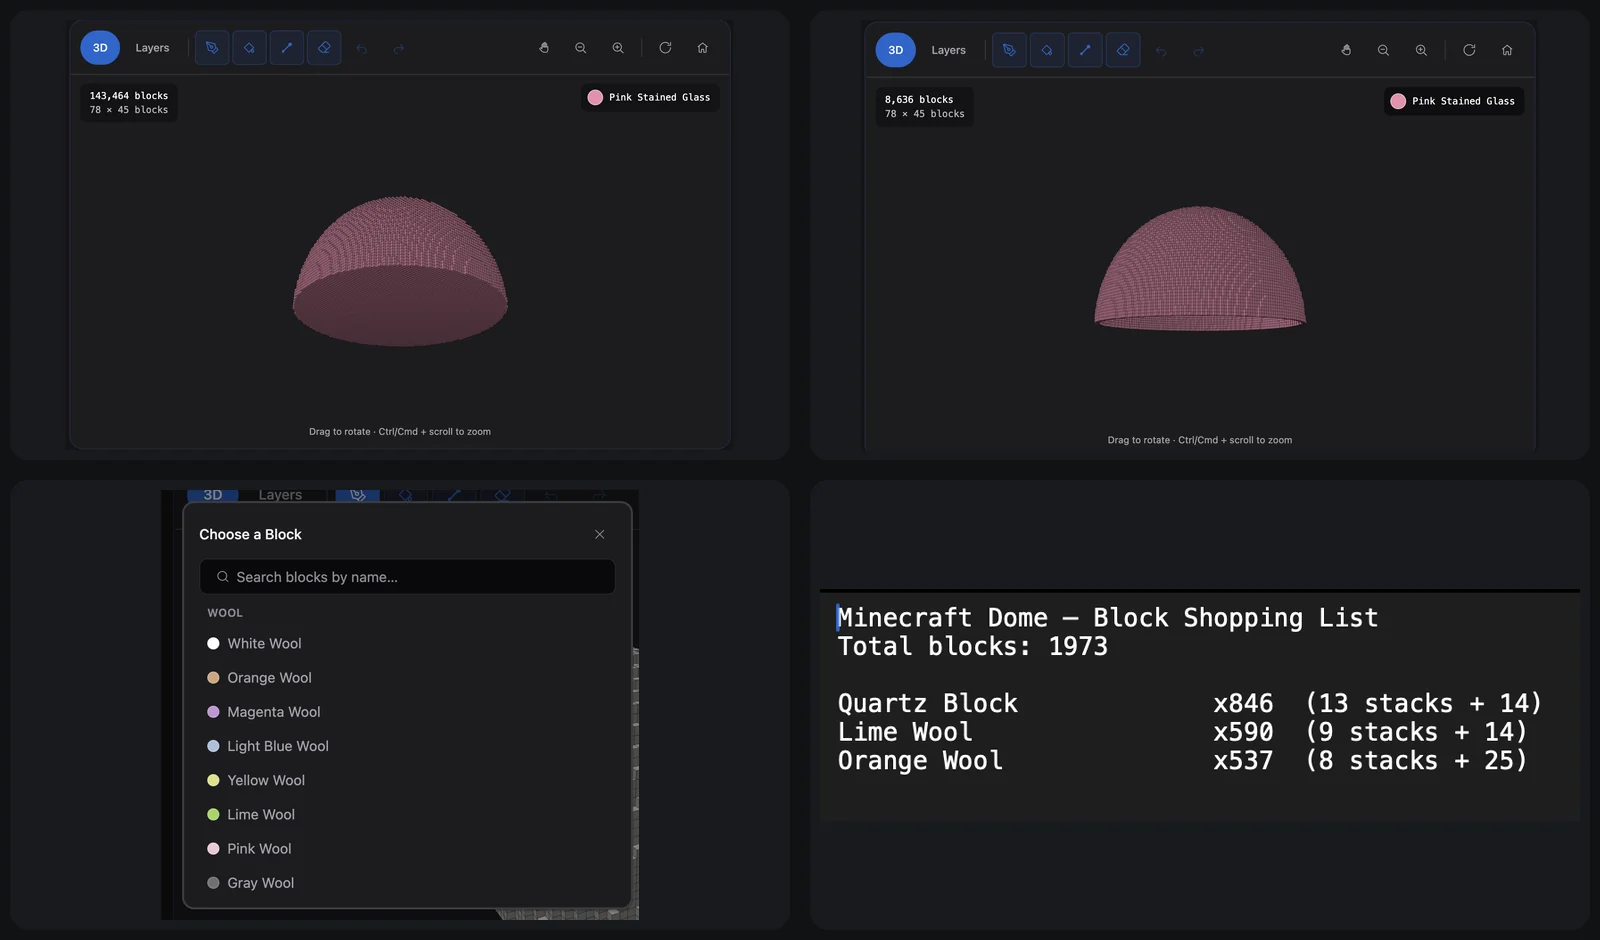
The Minecraft dome calculator updates the total and material list whenever you change the diameter, height, shell, wall thickness, smoothing, or block choices. Download CSV or TXT for gathering materials, or save the layer plan as a practical dome building guide.
Java and Bedrock Export Options
| Format | Edition | Best for |
|---|---|---|
| Layer PNG | Java and Bedrock | A visual reference for the ring you're currently placing |
| CSV or TXT | Java and Bedrock | Gathering and tracking materials |
| Layer plan (.txt) | Java and Bedrock | A ring-by-ring block count to build from |
.schem | Java | Compatible schematic tools such as WorldEdit |
.litematic | Java | A Litematica placement guide |
.mcstructure | Bedrock | Bedrock structure import workflows |
A build file does not place blocks by itself. You still need the matching mod, plugin, or structure-import workflow, and some servers restrict those tools. Select your Minecraft version before exporting so Java schematic files carry the right version tag.
Everything Runs in Your Browser
Every layer, block count, and exported file is generated on your device. Nothing about the dome you design is uploaded to MC Build Tools, stored in an account, or shared with anyone. See the Privacy Policy for site-wide details.
Frequently Asked Questions
Is the Minecraft Dome Generator free?
Yes. The generator is free to use and does not require an account or sign-up.
Does this generate a full sphere, not just a dome roof?
This tool creates a dome or roof with a flat, open base rather than a complete sphere. Adjust the height to make a shallow cap, a balanced dome, or a taller profile.
Can I make a glass dome or a bee dome with this tool?
Yes. Choose glass or stained glass from the block palette, then paint or replace blocks in the preview as needed. For an underwater dome, use the same shell blueprint and test a small section in your world before completing the full build.
What's the difference between a hollow and a solid dome?
Hollow generates a shell of the wall thickness you choose, open at the base so you can build inside it. Solid fills the entire dome with blocks — simplest to place with a single fill command in Creative, but it uses far more material.
How large can I make a dome?
Diameters from 3 to 121 blocks are supported. Very small domes (under about 7 blocks) will always look a little blocky, since there isn't enough room to approximate a smooth curve.
Is the block count exact?
Yes. The count reflects the exact number of blocks in the generated shape shown in the preview, not an estimate — it updates instantly whenever you change the diameter, shape, wall thickness, or height.
Does it work with both Minecraft Java and Bedrock Edition?
Yes. Choose the edition where you plan to build. Java supports .schem and .litematic exports, while Bedrock supports .mcstructure; both editions can export a layer PNG, CSV, TXT, and layer plan.
How do I put the finished dome into Minecraft?
Build it manually using the layer view — start at Y=0 and place each ring going up — or export a compatible file. Java players can use .schem with a schematic tool or .litematic with Litematica. Bedrock players can use .mcstructure with a Structure Block. A matching tool is still required to load the file.
Can I change the dome's height without changing its width?
Yes. Diameter and height are separate block measurements. Lower the height for a shallow dome roof or raise it for a taller, steeper design without changing the width of the base.